
This tutorial is a step by step of how to make a lined Work Bag with or without a drawstring closure. This is also my entry for this month's whiplash competition. 
What you will need for the bag
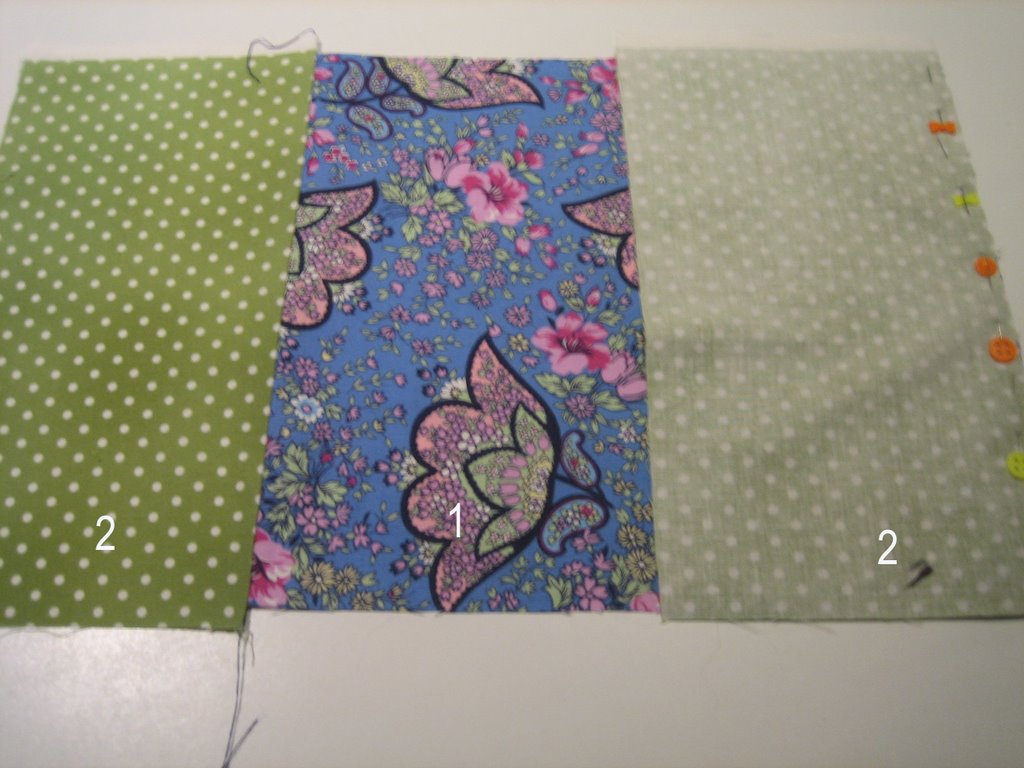
3 different pieces of fabric for outside of bag - 26 cm wide x 30 cm long1 piece of fabric for bag lining - 26 cm x 76 cm long
2 pieces of fabric for handles - 5 cm x 40 cm long OR 2 pieces of ribbon for handles
(optional: 2 pieces of ribbon 45 cm long for drawstring)
Step 1
Cut fabric 2 and fabric 3 in half - these will be the middle and top tiers on either side of the bag.

Step 2
Sew fabric 2 pieces to either side of fabric 1.
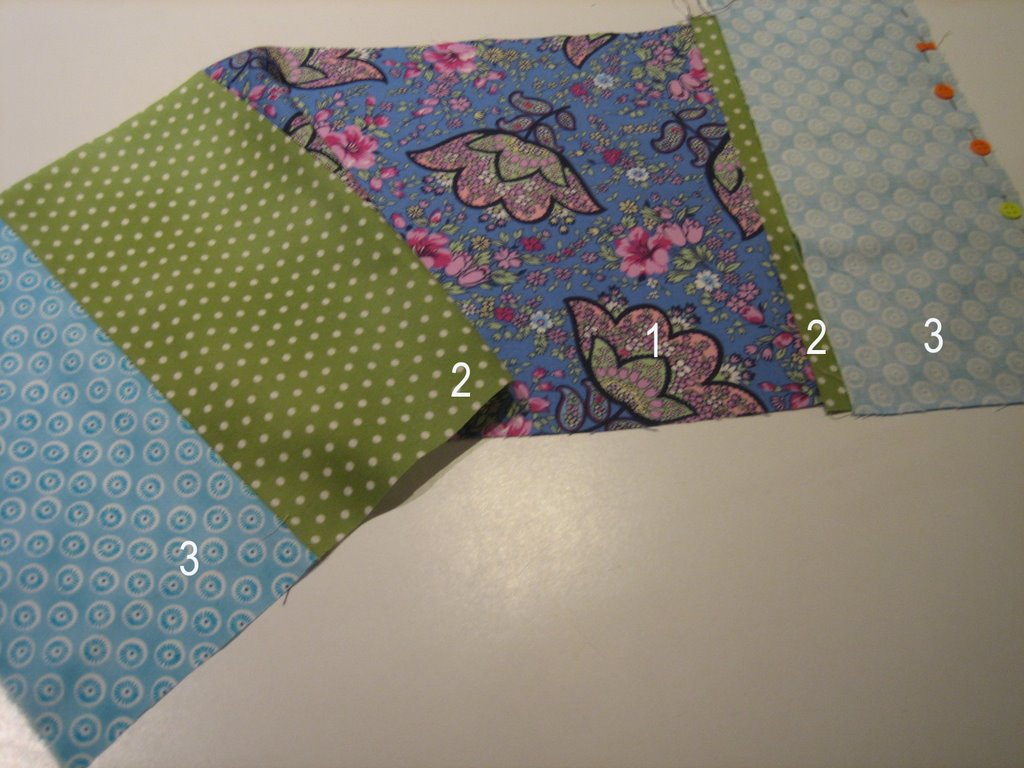
Step 3
Sew fabric 3 pieces to fabric 2.
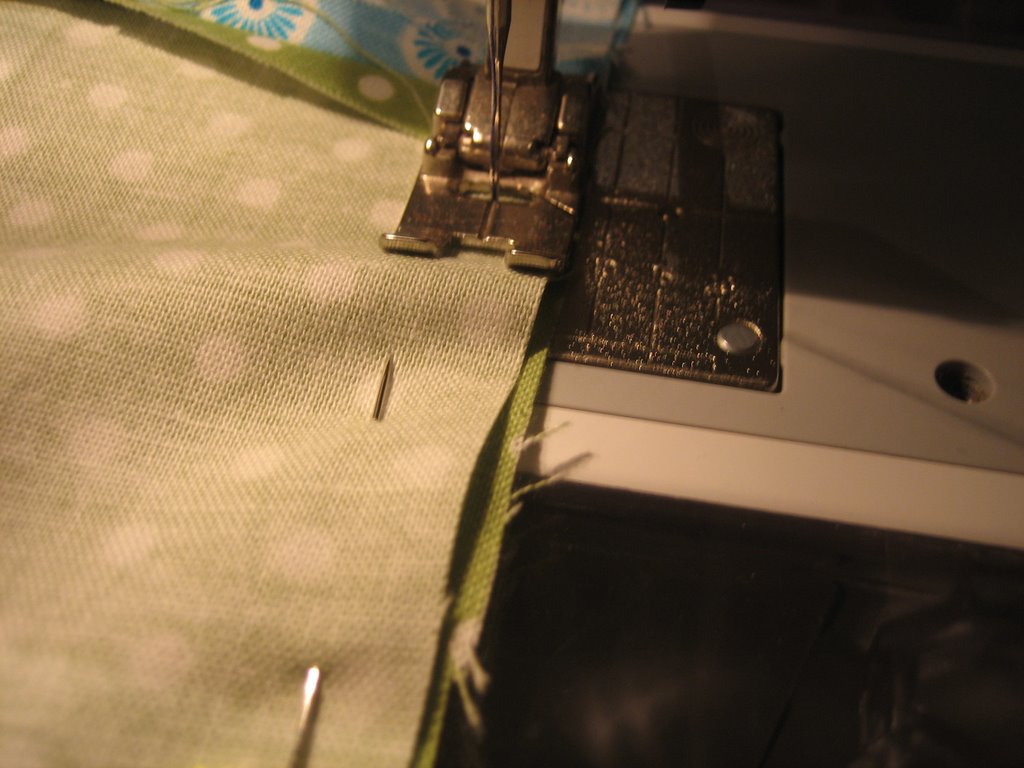
Step 4
Fold in 1cm hem for bag top and sew place.

Step 5 (If you are making your fabric handles)
Fold fabric in halfway lengthwise with RS together and sew in place.
Turn fabric RS through and press.


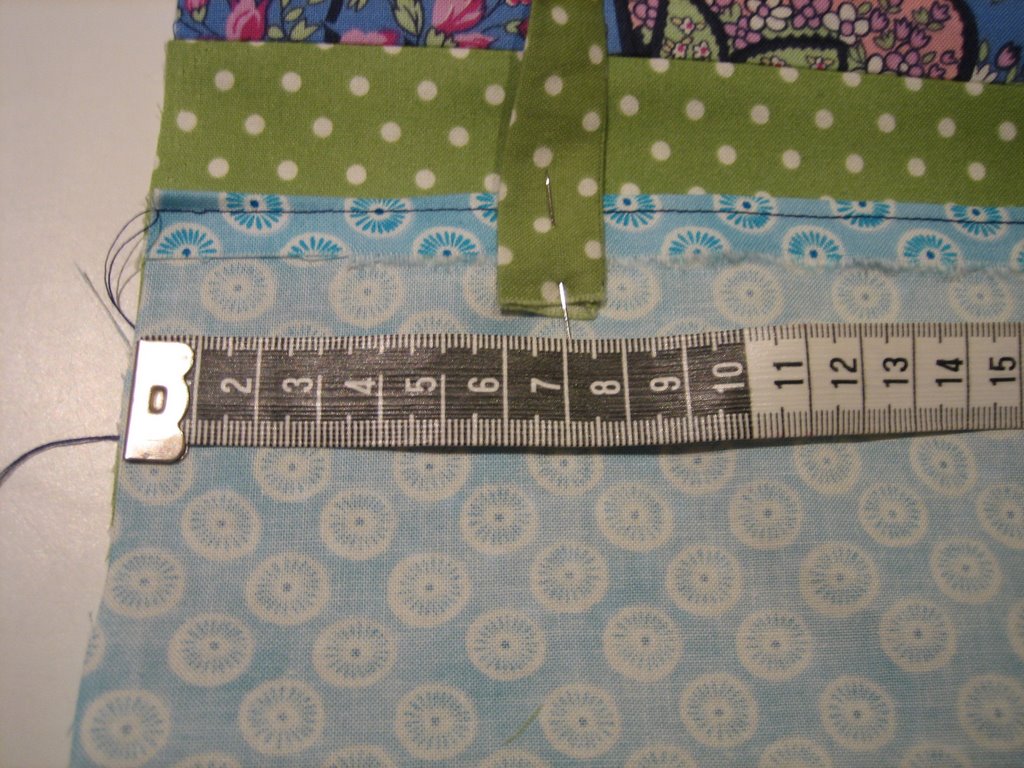
Step 6
Sew handles (fabric or ribbon) to bag top. Place 7 cm in from side on WS of fabric. Pull threads to WS and secure.


Step 7
With RS together sew bag seams. Match up tier seams on side. Trim corners.

Step 8
With RS facing, sew lining fabric side seams. Trim corners and turn RS out. Press.


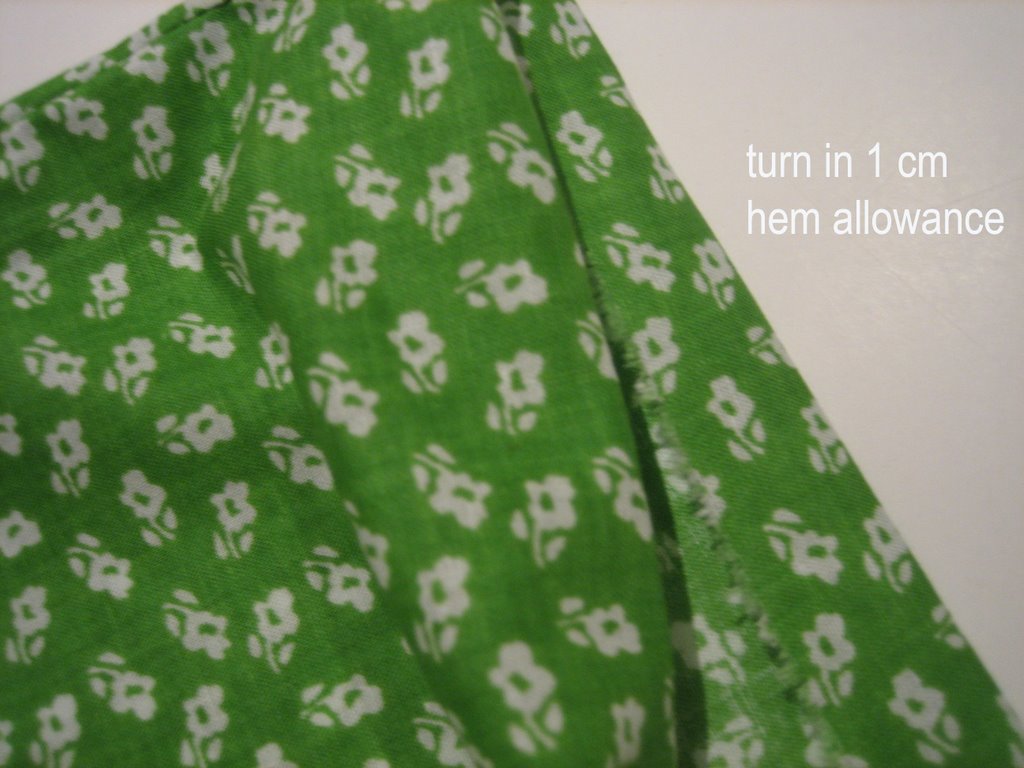
Step 9
Turn a 1 cm seam inside top of lining.
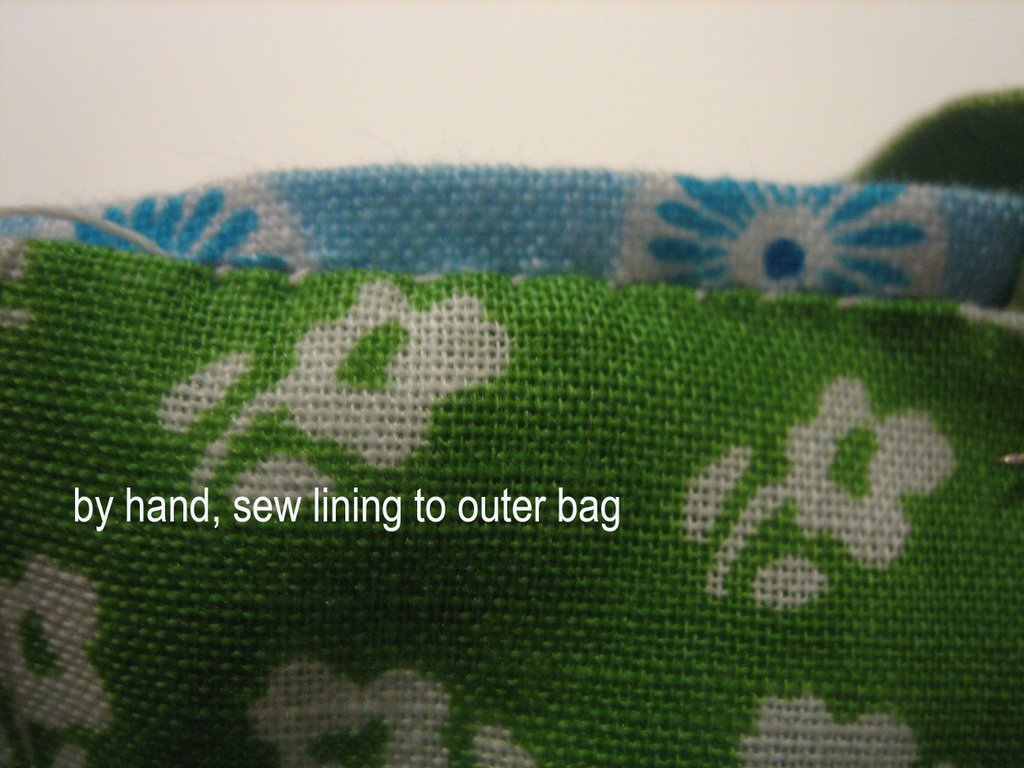
Place outer bag inside bag lining as per diagram. Pin bag lining to outer bag at stitching line. Hand sew in place.


Step 10
Turn bag RS out and Press. You may wish to leave the bag as is.

However, the following instructions will add a drawstring closure if you desire.
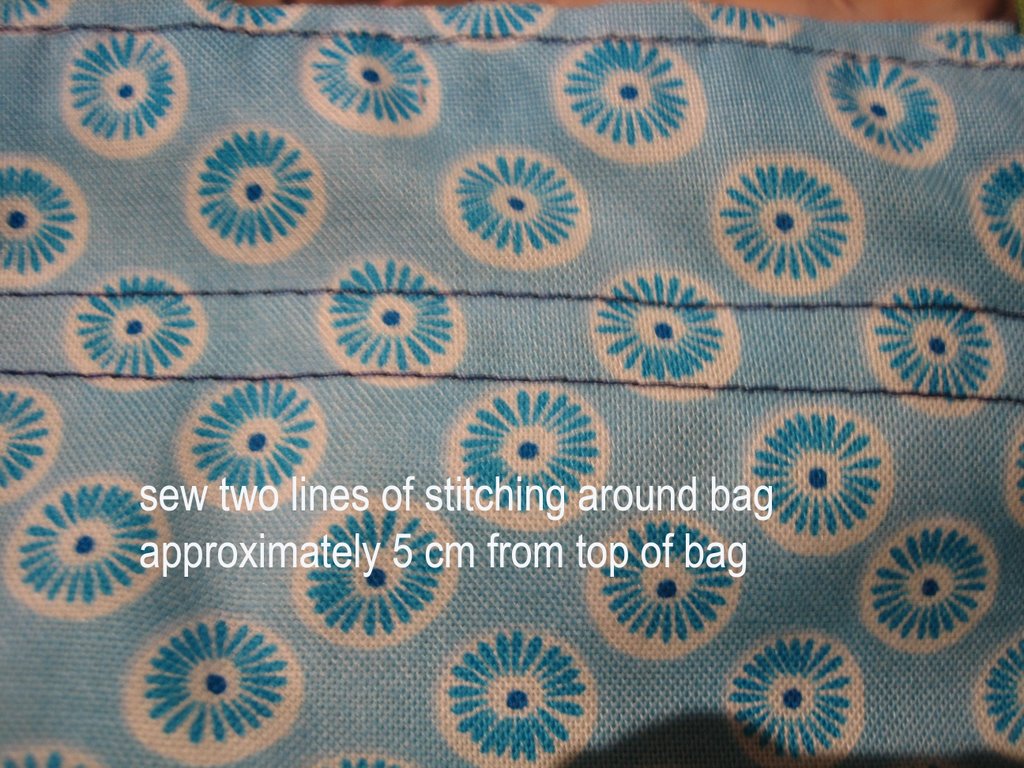
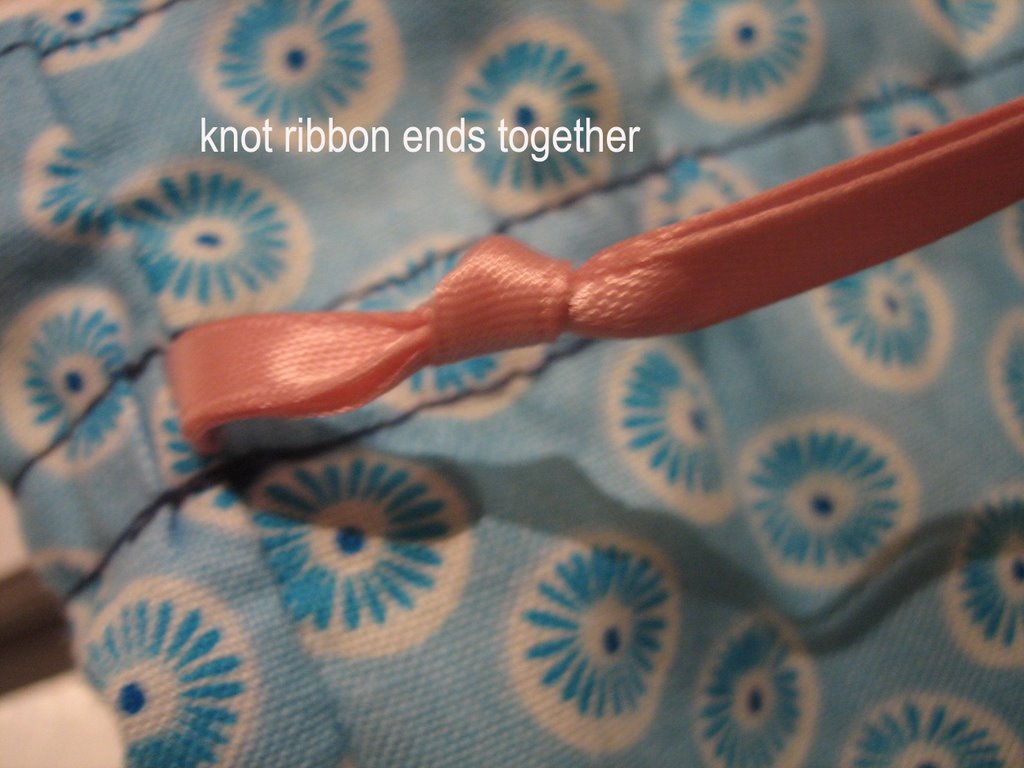
Step 11
Sew two lines of stitching around bag, approximately 5 cm from top of bag. Open side seams between stitching. Thread one piece of ribbon through each side of bag double stitching. Knot ribbon ends.


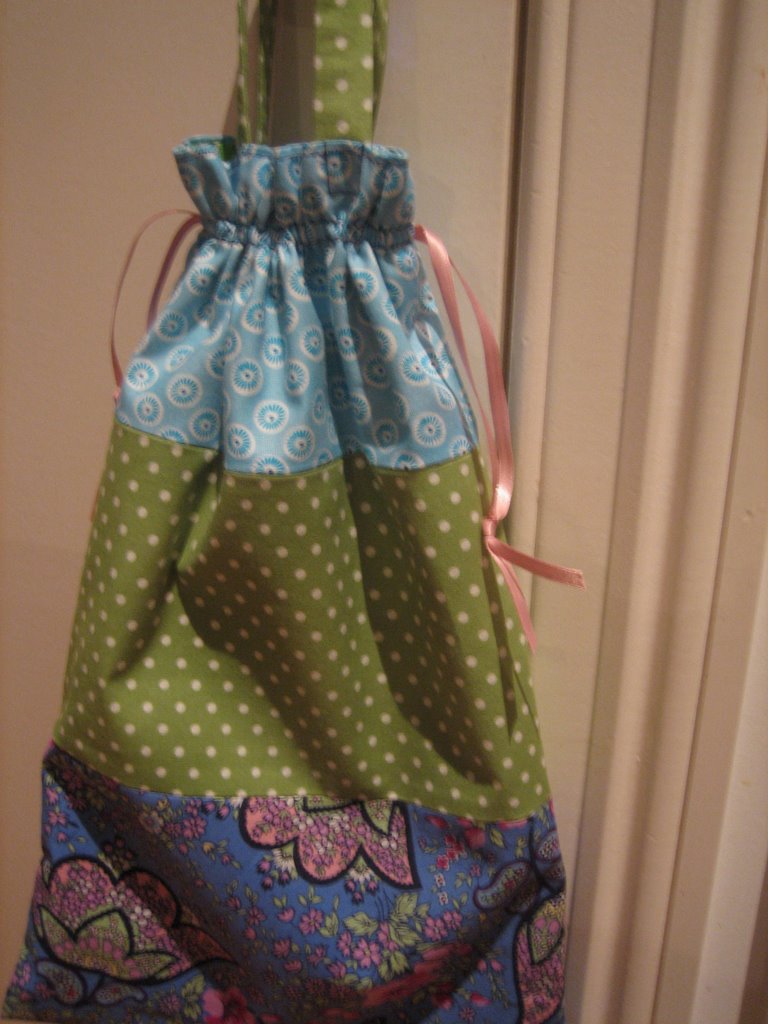
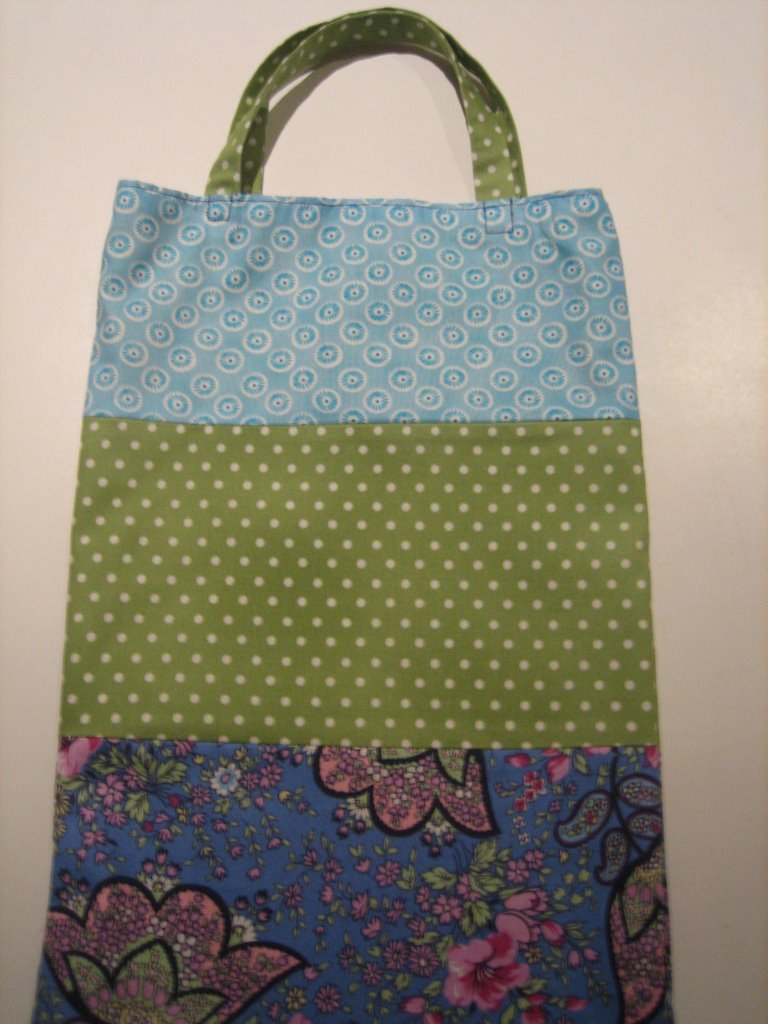
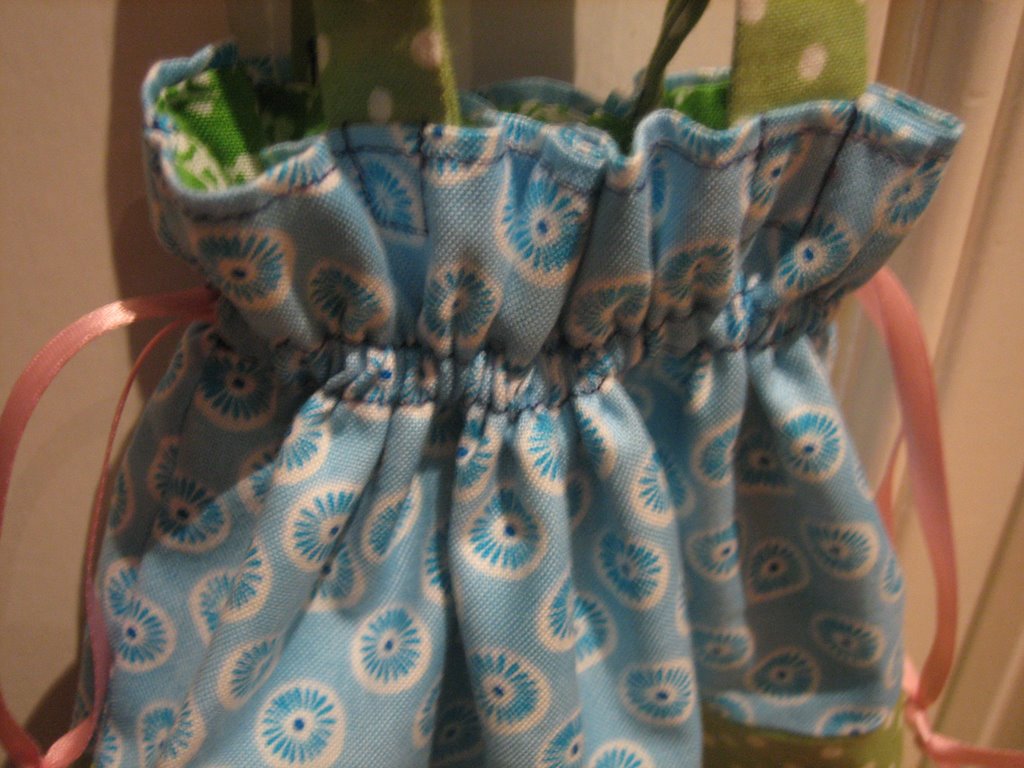
Step 12
Your finished bag.

5 comments:
That is seriously cute.
And now bookmarked to my "crafts i want to do" folder.
About 10 steps too many for me - probably why I leave most of the sewing to you and mum!
yyyaaayyyy you did it!!! Looks fantastic
Ooh - very clear tutorial - I like tutorials SO much more than patterns. I'll mark this one for a future project.
nice, clear tutorial
Post a Comment